Need some holiday gift ideas? With three kids and lots of nieces and nephews, I spend a fair amount of time searching for the perfect gift. I hope these suggestions make your holiday shopping a bit easier!
BEST FOR BIRTH-24 MONTHS
1.
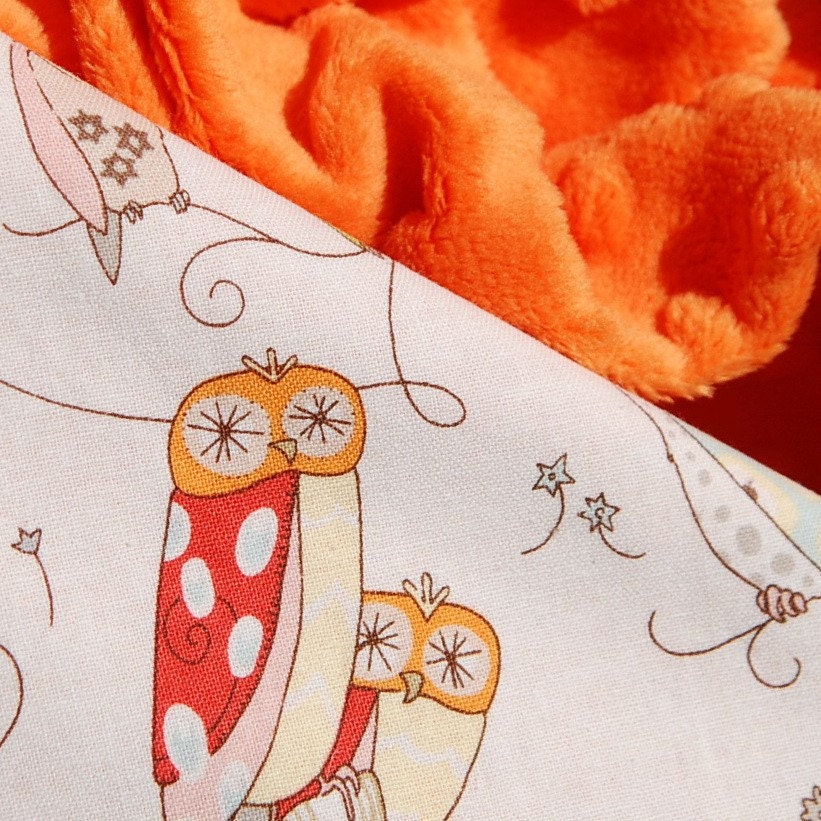
A "lovey" blanket
All three of my own kids and many of my nieces and nephews own loveys. They have been a lifesaver at bedtime and naptime. I like this one from BoCoBaby. It's available in their
Etsy shop.
2. Music To Get Your Groove On
We like to pop in music while we're getting ready for dinner, in the car, and on lazy weekends. Not only is music great for cognitive development, but these CDs include songs that parents can sing along to as well.
Hat Parade by Meg Russell
Our favorite song on this one is "Smile and Say Hello." You can listen to some samples and purchase this CD
here.
We are also big fans of
The Laurie Berkner Band. Caution: the song "Family" will be stuck in your head constantly because it's so catchy.
Adorable, adorable, adorable in every way.
Okay, so this one plays a song that's a teensy bit annoying. But the kids love this toy so much, I deal with it.
These are made of squishy plastic, and they go pretty fast when you pull back on them. All of the kids play with them constantly. Plus, they are super cute!
BEST FOR 2-3 YEARS
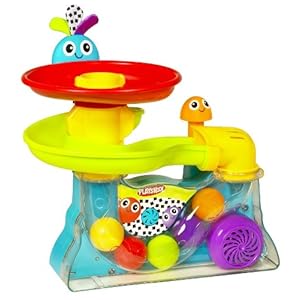
Can you tell that we love B Toys around here? The twins received this as a gift for their 2nd birthday, and they haven't stopped playing with it since!
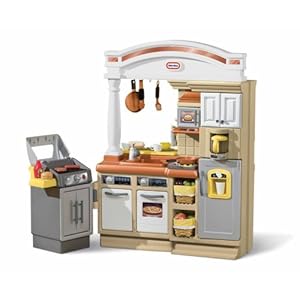
Our cousin Reese has this kitchen, and every time we are at his house, Nathan "cooks" for hours.
Not only is this made of solid wood from sustainable forests, but it doesn't require batteries!
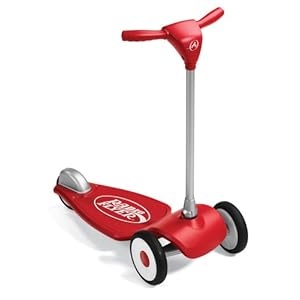
This was so easy to assemble, and the base is wide so no one topples over. (Wear a helmet anyway!)
On most days, I get my coffee delivered in a little blue cup. :) It's BPA-free and packaged in the cutest box ever.
Apparently, balance bikes are all the rage in Europe. :) Kids learn to push off with their feet and coast, and they learn how to balance their weight (as opposed to training wheels, where they just shift their weight from right to left). The idea is that, since the kids learn to balance, they can progress right to a 2-wheeler. (Don't tell Nathan -- he's getting this one for Christmas!)
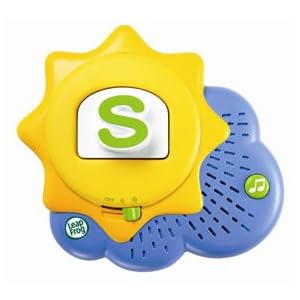
Every kid in America should have this set. It's never too early!
BEST FOR 4-5 YEARS
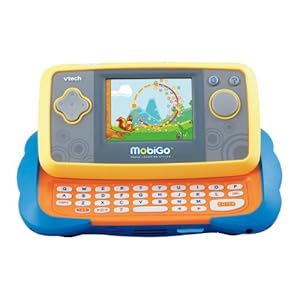
I'm not sure who plays with this more -- Gavin, or me. There are literally hundreds of song combinations that kids can create. My favorite style is the "hip hop" feature. Your mini Pauly D. can scratch on the records and record their songs on the MP3 player.
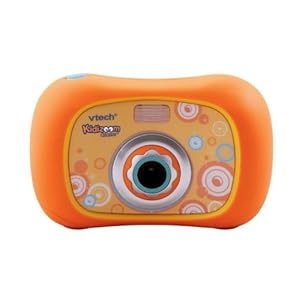
It's easy for kids to point and shoot with this camera. The picture quality is good, and the kids can even edit the photos. It comes with a USB cord to upload to your computer. There is also an editing and games feature.
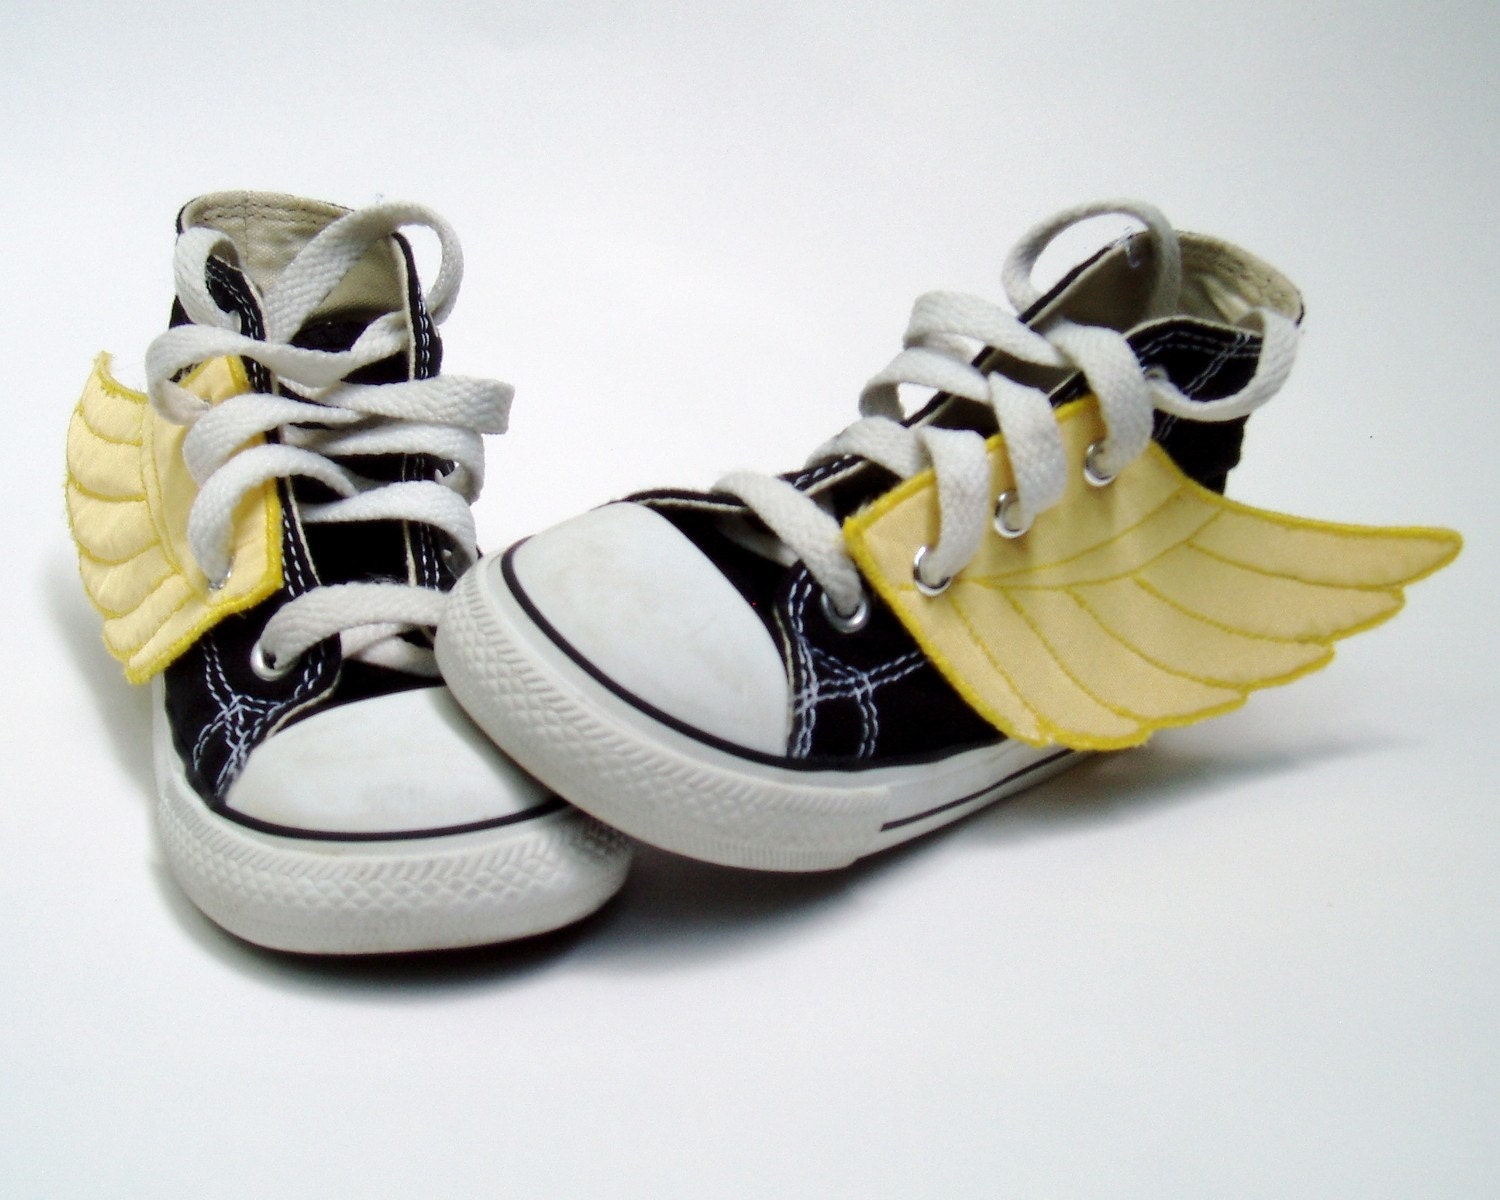
I've shopped around, and this one gets great reviews. These will be under the tree for the twins this year.
This cardboard, decorate-yourself playhouse is made of 100% cardboard recycled material. Perfection.
BEST FOR 6 AND UP
Get it quick! This is one of the hot toys this year. It's like an advanced game of catch. You quickly open your mitt to release the ball, and your opponent snaps their mitt shut to catch.
A fast, fun, and addictive word game.
I CANNOT WAIT until my children are old enough to appreciate this. It even comes with little library cards and overdue notices. Can you even stand it??!?!?
Some of my fondest childhood memories are looking at the night sky with my dad. I think every kid needs a telescope to fuel their imagination.
For your little Picasso: "This wooden Super Art Box Kit features 2 wooden storage drawers, 2 wooden fold-out trays, and a pop-up easel in the top, so that when inspiration knocks, kids will be ready to answer. The 108-piece Super Art Box Kit includes 32 markers, 28 colored pencils, 24 oil pastels, 12 watercolors with palette, a paintbrush, a water bottle, 2 pencils, an eraser, a sharpener, a ruler, and 2 easel clips, making this the all-in-one set for the varied artist! The amazing Super Art Box Kit from Alex Toys, and all the included supplies, will turn any child into a well-equipped artist!"
Now it's your turn! Leave a comment below and tell us your favorite toy or gift!